You are here, bacause you would like to program your own game – but you don't know how to get started? Perhaps you have never even programmed anything before and you are worried that writing code may not be your thing?
I'm telling you: it's not hard, really.
Instant Rocket Fuel will provide you with a foundation and some building blocks – like Lego – that you can use to build your game, such that you can focus on the stuff that is specific to your game: the fun part.
Yet, there is nothing in Instant Rocket fuel that you absolutely have to use. You can use some of the parts and choose to provide others yourself. Its all just there to help you get your game off the ground. In the end, it is all just JavaScript, and the HTML Canvas Element.
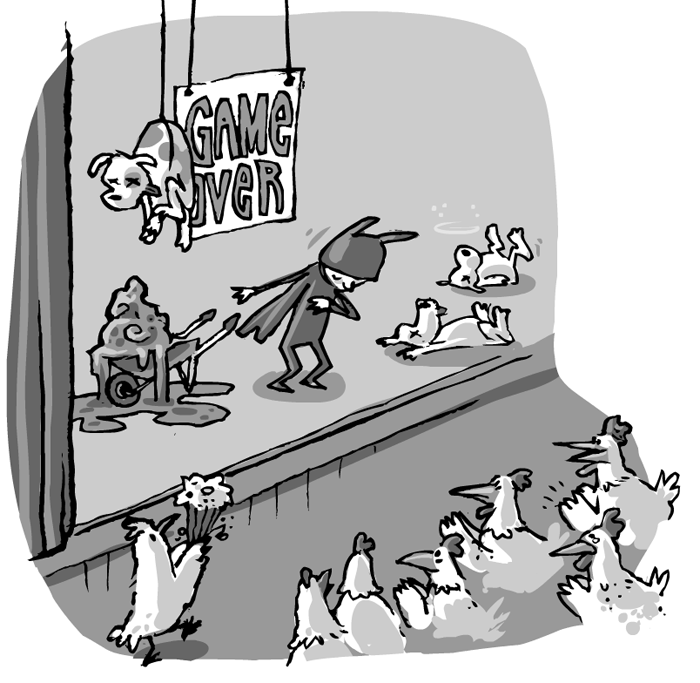
Lets suppose, you made up your mind to create the game "Hundinvaders", in which a fleet of dogs is approaching from outer space, littering the sidewalks. The player is in control of batman, who pushes a wheelbarrow around to prevent the worst.
Creating such a game (any game, really) is much like creating a stop-motion film. You place some objects on a stage and take a picture. Then you move your objects a tiny bit, and take a picture again. And so on...

In Instant Rocket Fuel this contiuous updating-the-model / taking-a-picture is taken care of by the Game class. All you have to do is provide two functions update and render, and they will be called over and over again, as fast as possible.
	class Hundinvaders extends Game

		constructor: (width, height) ->
		  super width, height

		  @batman = new Batman
		  @fleet = new Fleet

		update: ->
		  super()
		  @fleet.update @timer.delta
		  @batman.update @timer.delta

		render: ->
		  super()
		  @fleet.render @ctx
		  @batman.render @ctx

	jQuery ->
	hundinvaders = new Hundinvaders( 1024, 768 )
	hundinvaders.start()
Notice how your class "Hundinvaders" extends Game, thereby inheriting the game-loop functionality.
In the constructor, new batman and fleet objects are created.
In the update function you simply call update on all the objects in your game. Batman and the fleet also provide an update function, where they either update themselves or pass the call on to other objects.
For example, the fleet may maintain a collection of invading dogs objects, and when its update method is called, it will in turn call update on each of them.
Note how the update call takes a "timer.delta" as parameter (read Time based vs. Frame based games below for more info on this) and render is passed "ctx" a reference to the canvas' elements context.
The Inst.Rocket Fuels game loop tries to call update and render as fast as your computer will allow. On a fast computer
this can be hundreds of times per second. Obviously, Batman would become frustrated if the dogs came rushing down from space just because
the computer he is running on is so incredibly fast.
To make him move at just the right speed, we need to know how long one update/render cycle takes and update his movement accordingly:
This is called "time based" animation – as opposed to "frame based", where one would hardcode the distance batman moves with every frame and then
call update and render at a fixed framerate.
IRF comes with a timer that is reset every time update is called. The idea is to pass the timer.delta (the time between the last two calls to update)
whenever you call update yourself.
That's really all there is to it. However, as your game grows, you likely want to add an intro and help screens, different levels and some pages to display highscores.
Different scenes, in a way. When one scene concludes, the curtain closes and behind it, the theatre staff will start working feverishly on rebuilding the set.
Consider this more modular game:
	class Hundinvaders extends Game

		constructor: (width, height) ->
		  super width, height

		  @sceneManager = new SceneManager this, ["intro", "main", "highscore"]
		  @sceneManager.setScene "intro"

		update: ->
		  super()
		  @sceneManager.currentScene.update @timer.delta

		render: ->
		  super()
		  @sceneManager.currentScene.render @ctx

	jQuery ->
	hundinvaders = new Hundinvaders( 1024, 768 )
	hundinvaders.start()
	sceneclass["main"] = class SceneMain extends Scene

		constructor: (@parent) ->
		  @batman = new Batman
		  @fleet = new Fleet

		update: (delta) ->
		  @fleet.update delta
		  @batman.update delta

		render: (ctx) ->
		  @fleet.render ctx
		  @batman.render ctx
The specific code dealing with batman and the fleet of invading dogs has moved to the "main" scene. Now its easy to switch back and forth between Scenes by calling sceneManager.setScene(). Update and render are called on whatever Scene is currently "active".